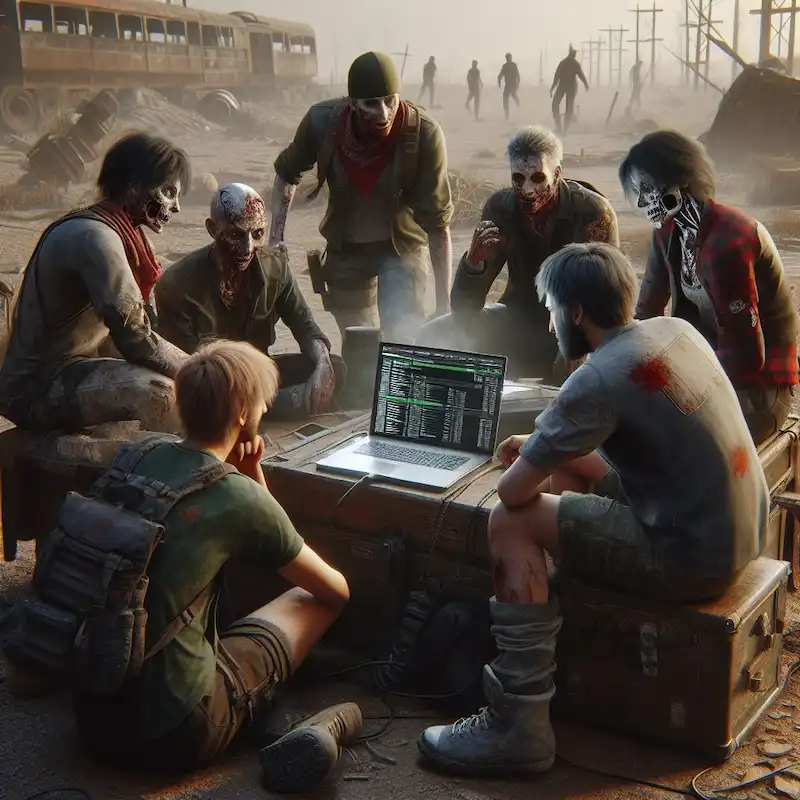
Welcome to the world of ‘7 Days to Die‘, where survival is key, and the freedom to customize your gameplay experience is limitless. Hosting your own dedicated server not only enhances your gaming experience but also puts you in control. Whether you’re a seasoned player or a newcomer to the zombie apocalypse, this guide will walk you through setting up and managing your very own ‘7 Days to Die‘ server.
7 Days to Die : Choosing Your Server
Where to Start?
Before diving into the nitty-gritty of server setup, you need to choose the right server model. Thanks to providers like IONOS, you have several options:
- Cloud Server: Ideal for beginners or small groups. Pay-by-the-minute makes it cost-effective, especially for sporadic gameplay.
- Virtual Private Server (VPS): Offers virtualized hardware with monthly costs. Suitable for more consistent gameplay.
- Dedicated Server: Best for a high-powered, continuous, and mod-heavy gaming experience.
7 Days to Die : Configuring Your Server
Once you’ve selected your server, it’s time to configure it to suit your gameplay style.
Player Settings
- Safe Zones: Protect new players by creating enemy-free safe zones upon their arrival.
- Day/Night Cycle: Tailor the length of days and nights to alter the game’s pace.
- Loot Settings: Adjust loot abundance and respawn rates to balance the game’s difficulty.
Performance and Zombies
- Max Spawn Limits: Set the maximum number of zombies and animals to maintain server performance.
- Zombie Behavior: Customize everything from blood moon frequency to zombie movement speeds.
Multiplayer and Land Claims
- Team Settings: Define rules for player interactions and shared experience points.
- Land Claim Rules: Establish the guidelines for claiming and protecting land within the game.
Server Management
Player Access Control
Utilize Steam IDs to manage who can join your server. You have the power to allow, ban, or grant admin rights to players. Remember, your server can be as exclusive or as open as you wish.
Mods and Customization
‘7 Days to Die’ thrives on customization. Add new mods, change game versions, or upload your game progress. The server is your playground!
Game Configuration
Tweak gameplay settings directly from the server dashboard. Want a creative mode or specific gameplay mechanics? You’re just a few clicks away.
Setting Up Your Server
- Remote Connection: Connect to your server through your provider’s interface.
- Install SteamCMD: This tool is essential for downloading the server application.
- Download the Server Application: Use SteamCMD to install the ‘7 Days to Die’ dedicated server application.
Conclusion
Hosting your own ‘7 Days to Die’ server is an enriching experience that puts you in the driver’s seat of your post-apocalyptic adventure. Whether you’re setting up a server for you and a few friends or looking to host a larger community, the flexibility and control you have are unmatched. Follow these steps, and you’ll be on your way to creating an unforgettable survival experience on your personalized server.

